
Learning to darken an image in Photoshop can enhance your photos, giving them a dramatic effect and depth. This article provides a step-by-step guide to help you master this valuable technique, improving your digital editing skills.
Step 1. Open the Image in Photoshop
To start, launch Adobe Photoshop on your computer. Click on “File” in the top menu bar, then select “Open.” Navigate to the image you wish to darken and click “Open” again. Your image will now appear ready for editing.
Step 2. Choose the Adjustment Layer
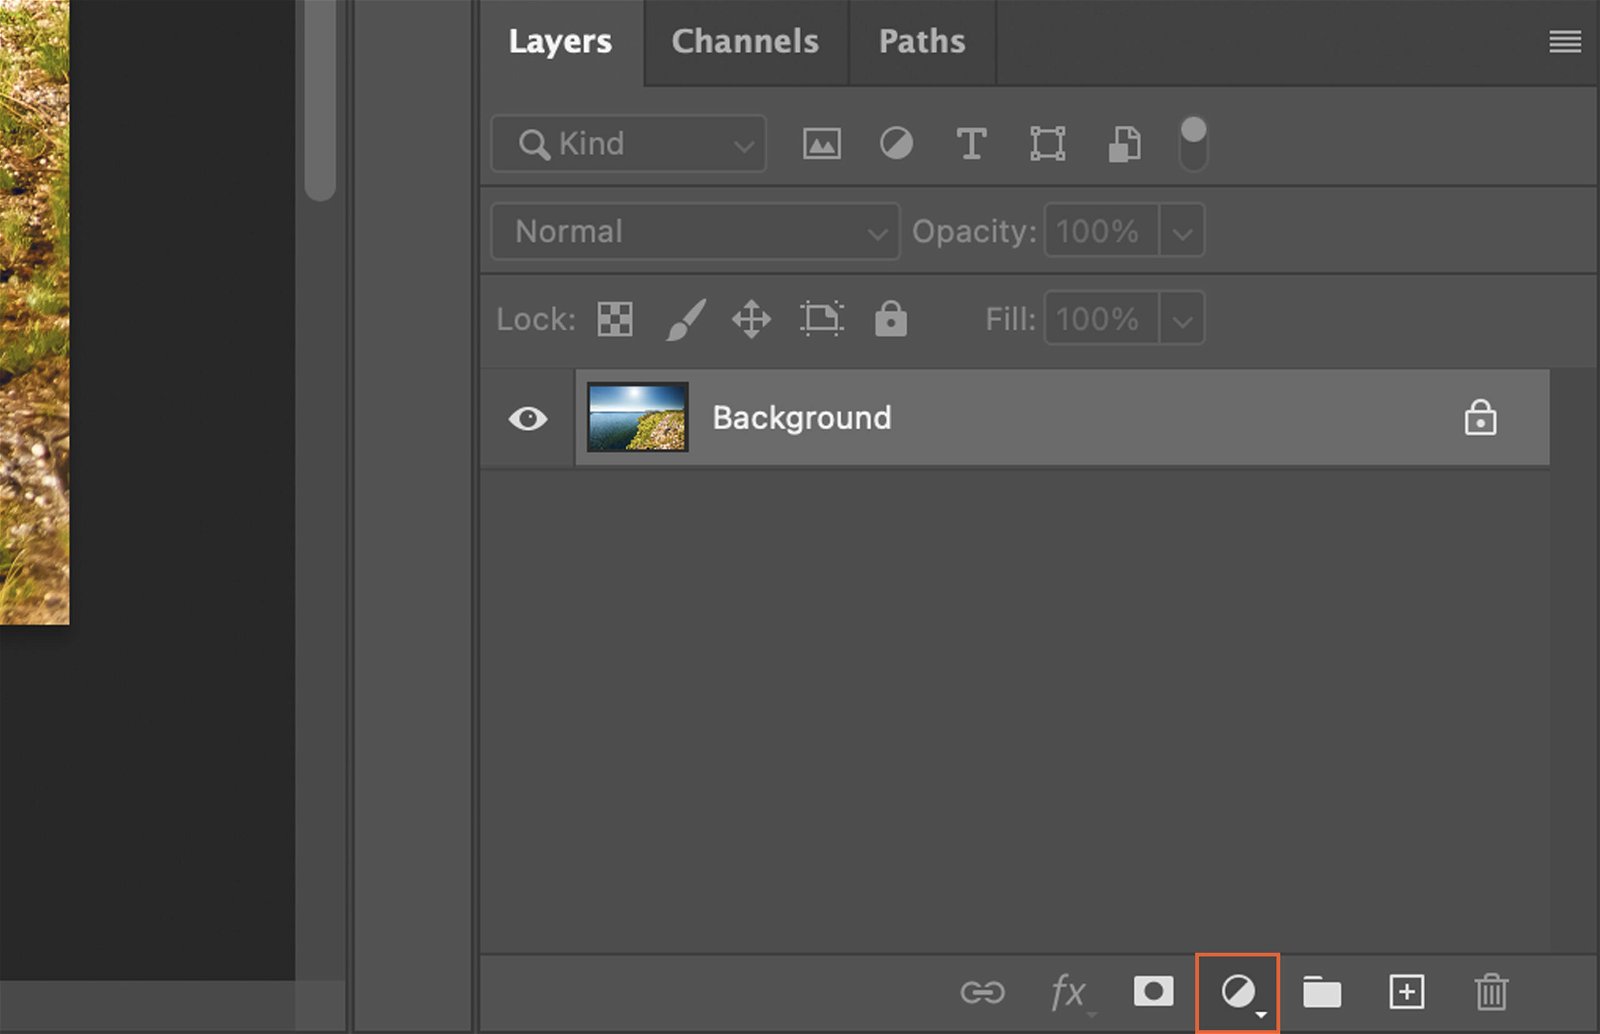
Click on the half-filled circle at the bottom of the Layers panel. This opens the Adjustment Layer menu, which offers various options to adjust your image.
Step 2.1. Selecting Levels Adjustment Layer
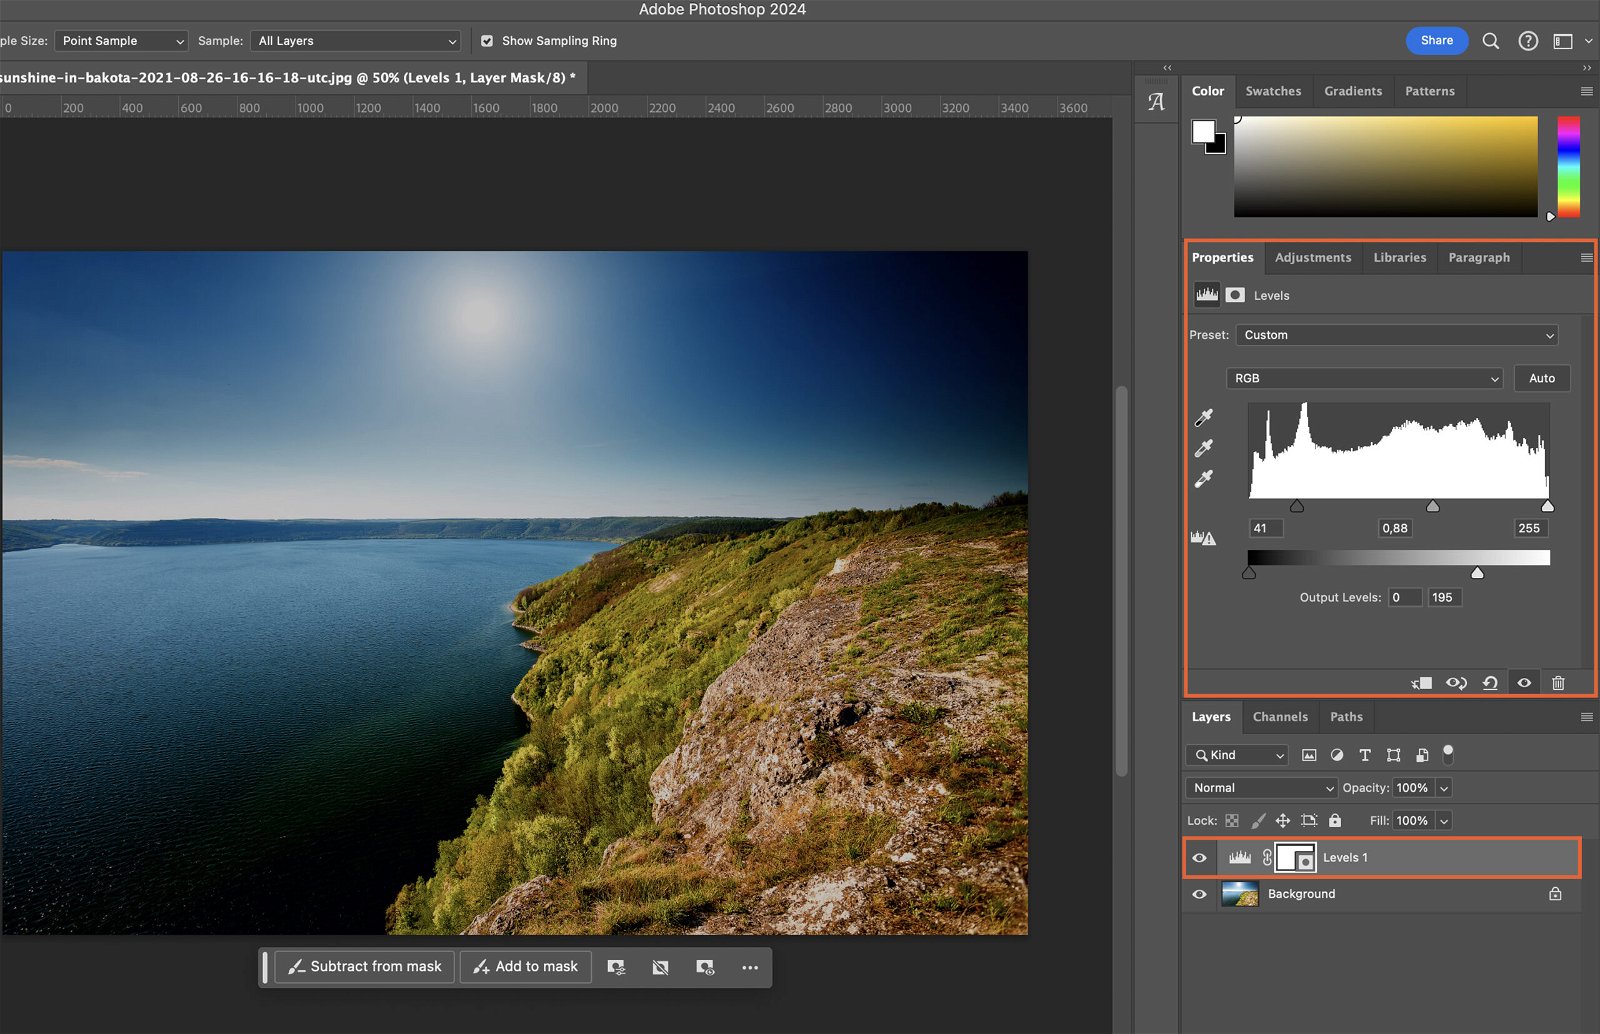
In the Adjustment Layer menu, select “Levels.” This allows you to adjust the tonal range and color balance of the image.
Step 2.2. Selecting Curves Adjustment Layer
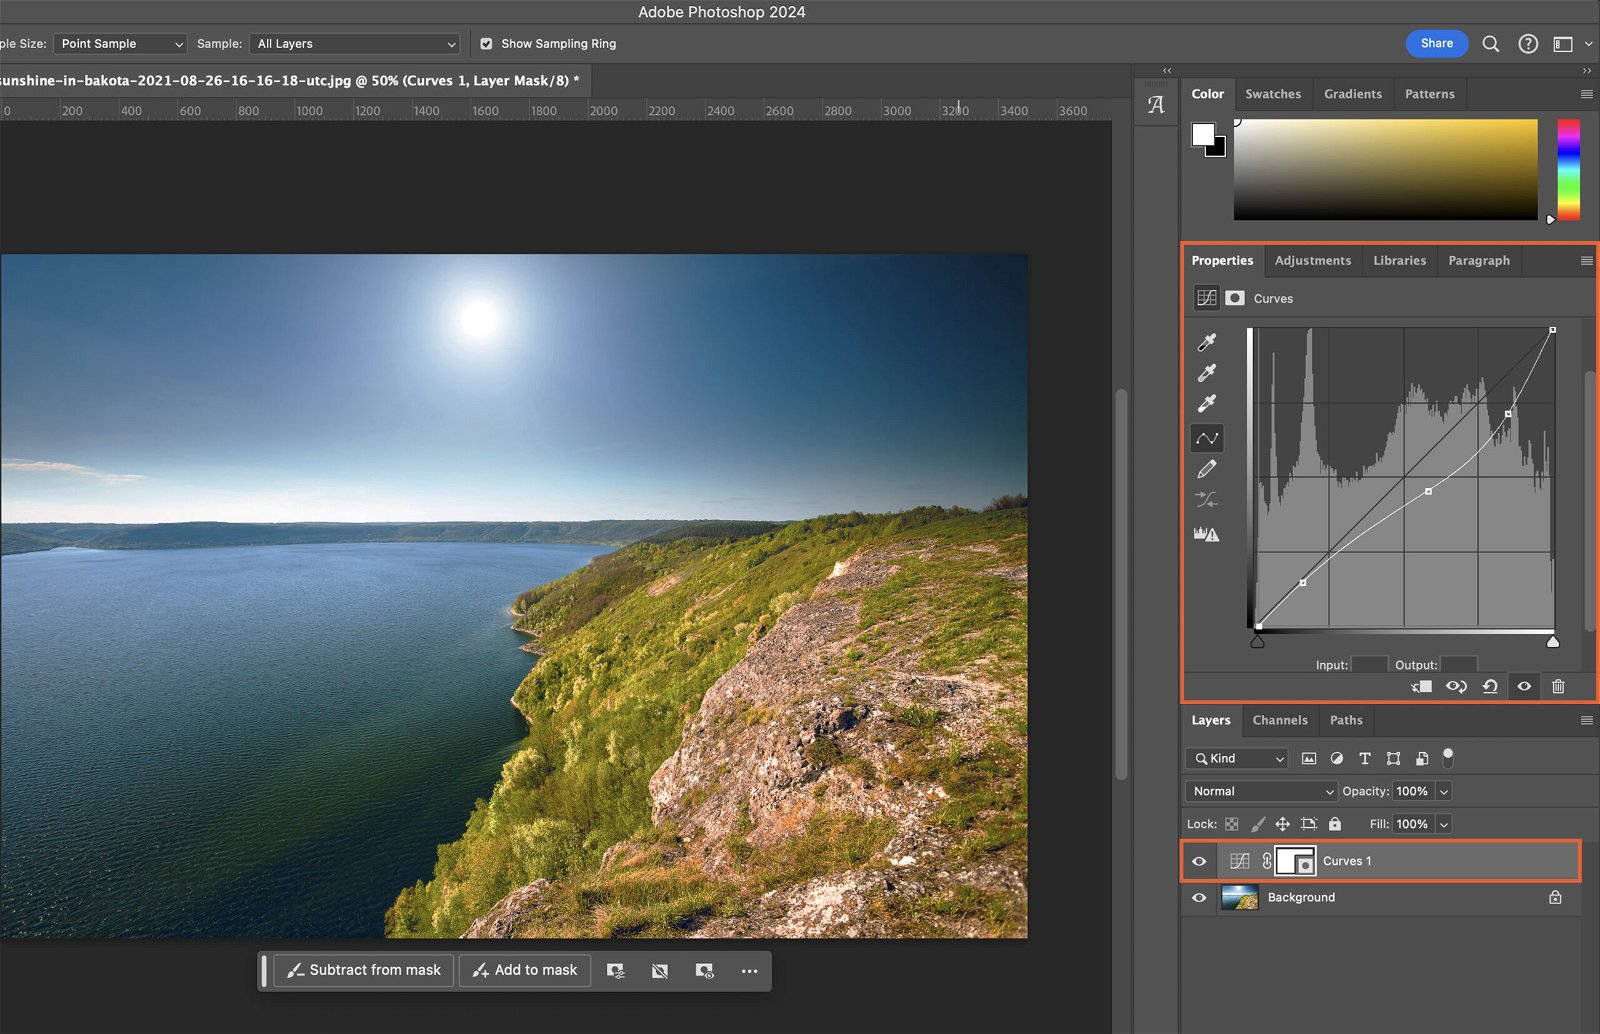
Alternatively, you can select “Curves” in the Adjustment Layer menu. This gives you the ability to adjust the image’s tone and color by manipulating a curve on a graph.
Step 2.3. Selecting Brightness/Contrast Adjustment Layer
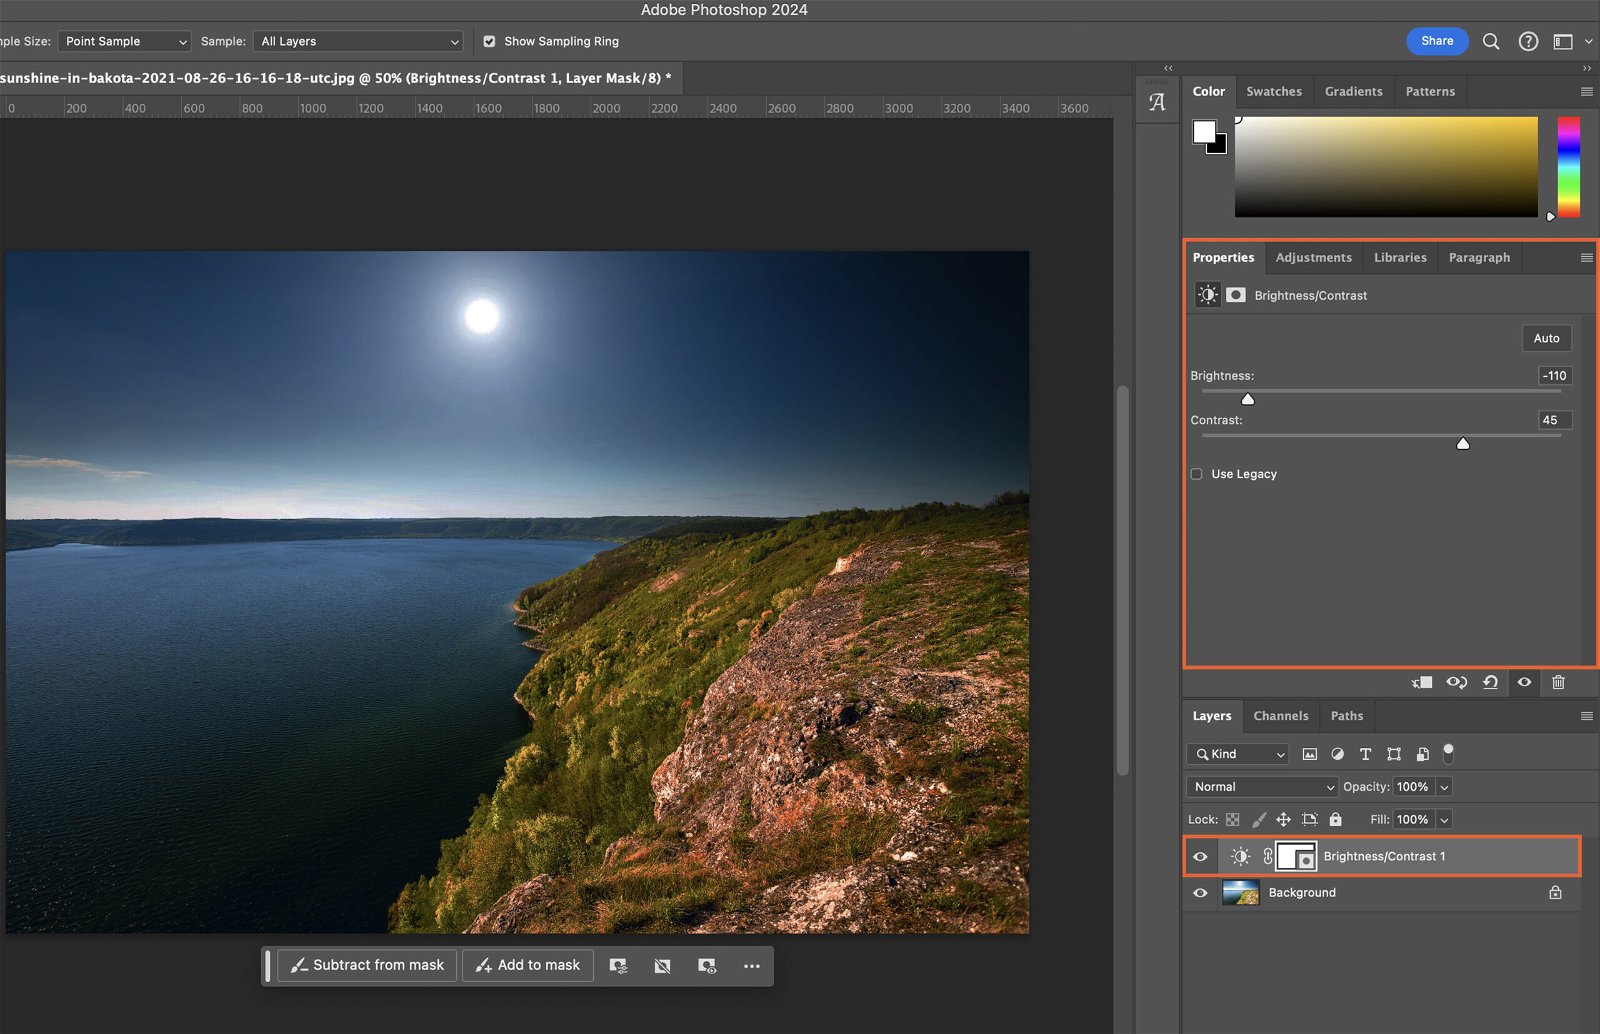
Another option is to select “Brightness/Contrast” in the Adjustment Layer menu. This lets you adjust the overall lightness or darkness of the image, as well as the contrast between light and dark areas.
Step 3. Adjust the Layer Settings
Whichever Adjustment Layer you’ve chosen, use its respective settings to darken your image. Remember to adjust gradually to avoid over-darkening.
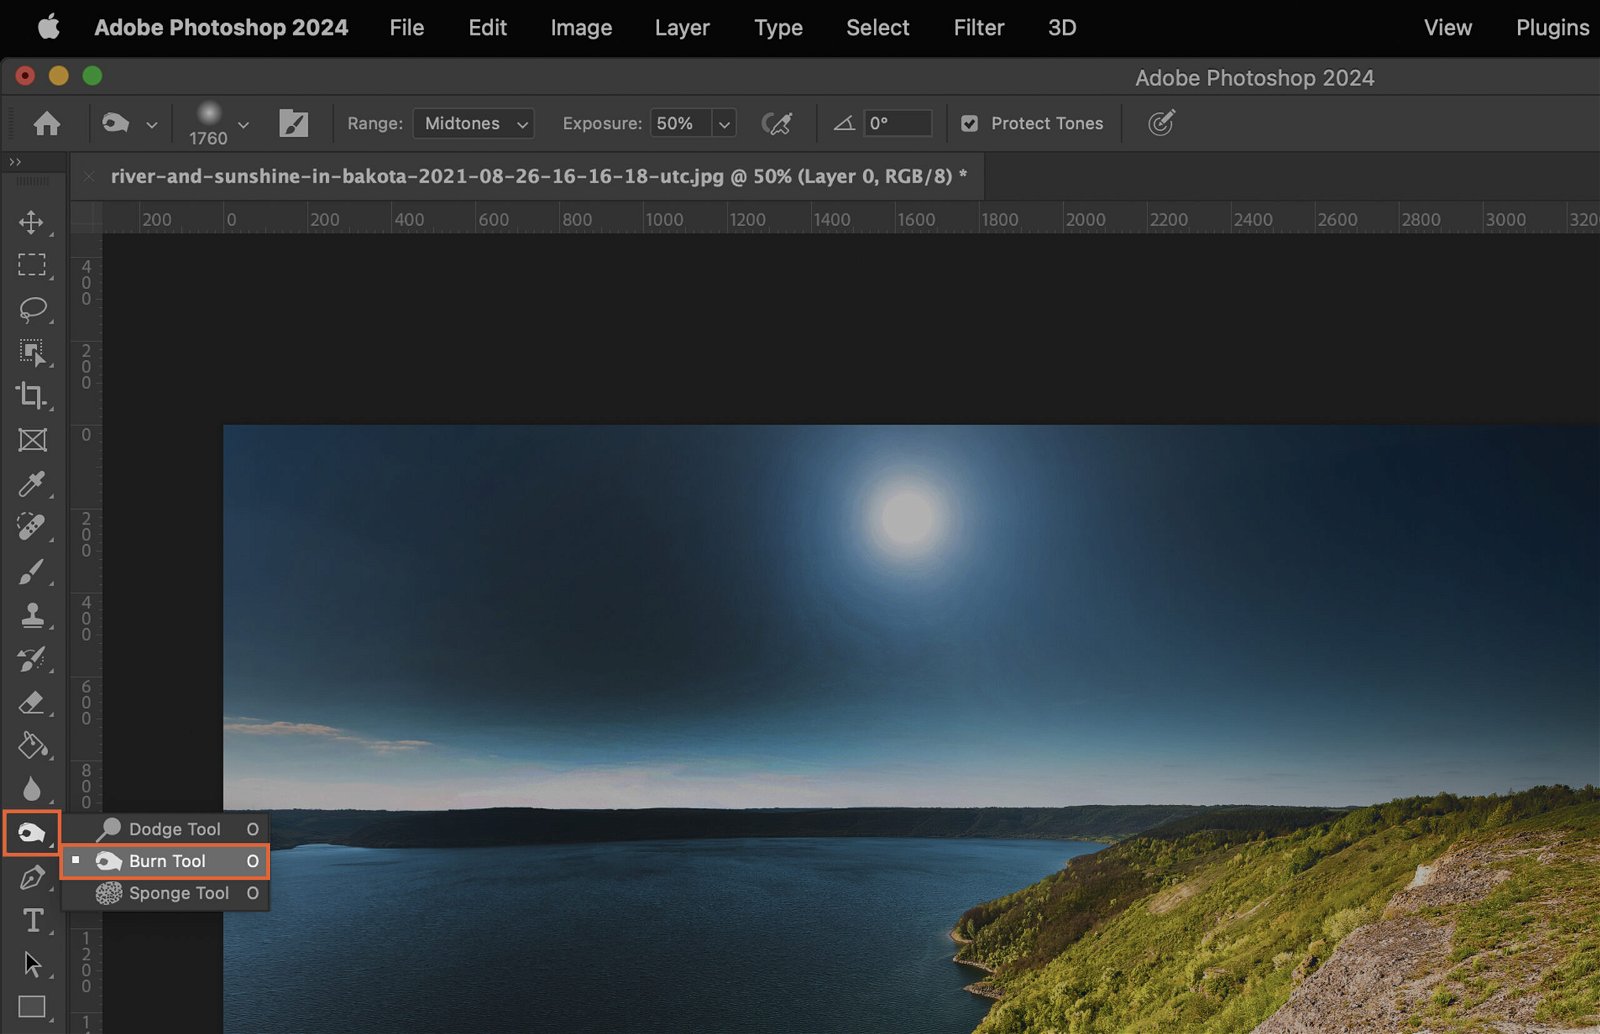
Step 4. Use the Burn Tool
The Burn tool darkens areas of the image. Select it from the toolbar on the left, choose a brush size, and set the exposure to a low percentage. Brush over areas you want to darken.
Step 5. Apply a Darkening Blend Mode
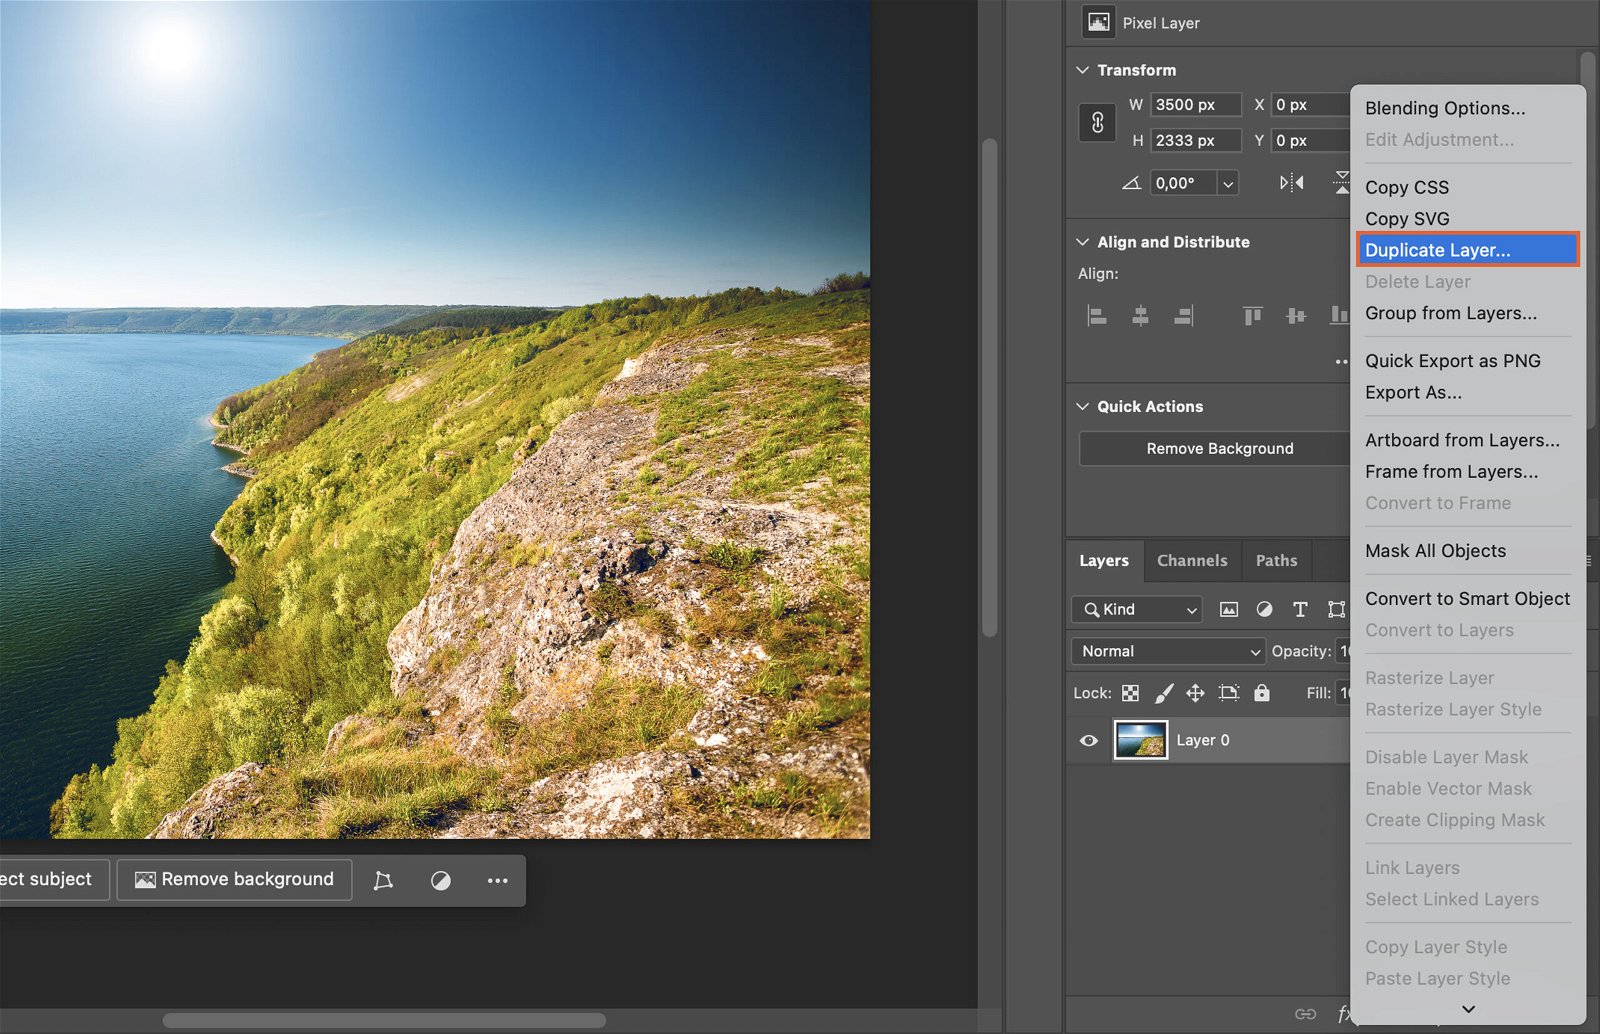
Duplicate your image be right clicking on the layer and select “Duplicate Layer’.
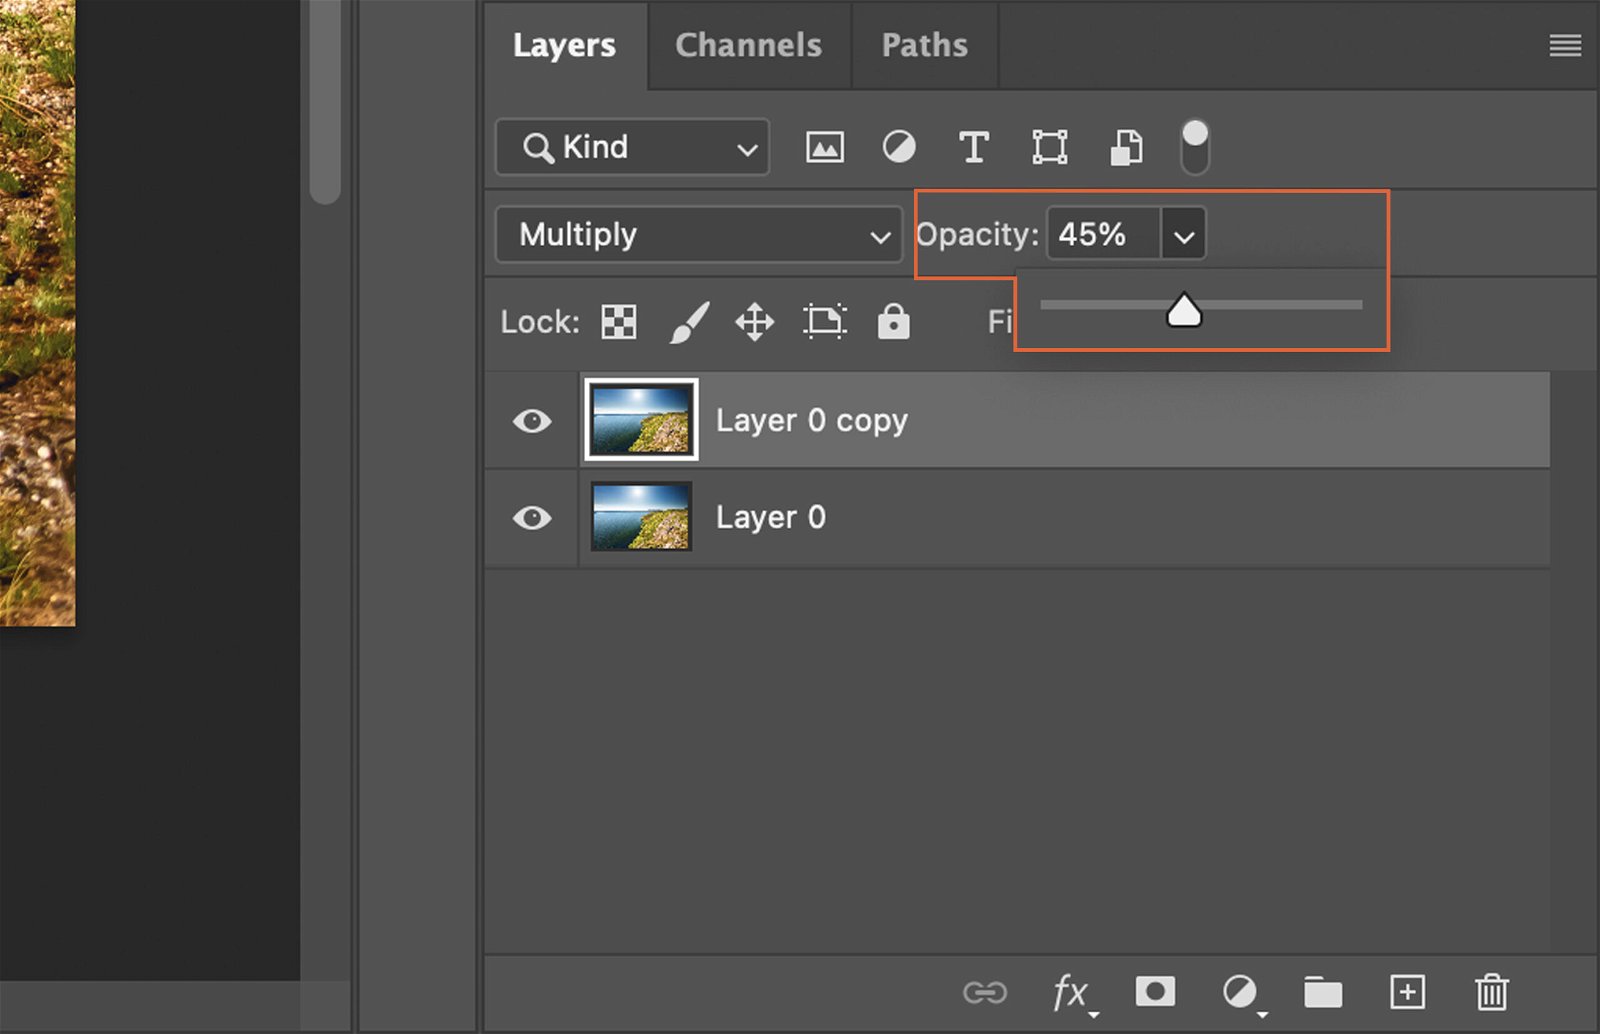
Back in the Layers panel, click on the drop-down menu that says “Normal” and select a darkening Blend Mode like “Multiply” or “Overlay.” This will blend your adjustments with the original image.

Step 6. Adjust the Opacity of the Darkened Layer
If the image appears too dark, reduce the opacity of the adjusted layer. In the Layers panel, slide the Opacity slider to the left until you’re satisfied with the darkness.
Step 7. Apply Final Touches
Inspect your image for any areas that are too dark or not dark enough. Use the Dodge and Burn tools to lighten or darken these areas as needed. Finally, save your darkened image by clicking “File” then “Save As.”
